You are currently browsing the Class Descriptions category.
Class Description
In this workshop you will learn how to turn one of your own photographs into a fabric portrait. The goal is to create dramatic portraiture that resembles the person in the photo. These will be accomplished by using Value in the Design Phase, a new “Heat-Set” Machine Appliqué technique in the Construction Phase.
While the result looks complex, the process is step-by step and you will be amazed at your results. We use only tools, which are easily available, and no drawing skills are necessary. All drawing is simple tracing.
You will choose how detailed or simplified you want your portrait to be. In the Supply List section you will find a number of such examples.
You will be exposed to discovering facial shapes and, using your own photo, translating them into pattern shapes with values and colors assigned to them.
I recommend that you do NOT bring babies, children or animal pictures. Selfies are ideal! So, have someone take a photo of you and bring it in.
In this 2-Day class you will need to visit a copy shop at the end of the 1st day to enlarge the pattern you created. I recommend you do not go larger that 20” x 30” on this first try.
You can also you a poster-printer that prints enlargements in multiple pages and tape this pages together.
Yet another option is to use “Blockposters.com” and use their site to posterize and then print an enlarged photo. (See instructions with the Supplies)


Do you have an inspirational photo that you have been dreaming of making into quilt but just do not know how to tackle the process? Learn how to create that pattern and get the quilt top created from the person that creates patterns and quilts from photos for all her own quilts and Hoffman fabric as well.
In this Workshop you will learn all the techniques your need to create amazing quilts from beginning to the end. We will use and apply the following:
1) Using a Photo to create pattern for a quilt.
2) Discuss photography and composition.
3) Value and how it relates to working with fabrics
4) “Heat-Set” Collage with Teamplates
In this multiple Day workshop we will start our journey by exploring the use of Value as the key to creating exceptional traditional and art quilts. The teacher will provide her “Value Matching Tool” and the “Periodic Value in Color Chart” that will help in this process.
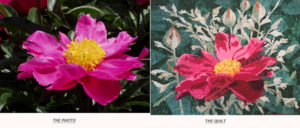 Then we will learn how to create a pattern from a photo provided by the teacher as part of the kit. You will be guided to see shapes you never saw before, and with the help of value you will be able to make the pattern. There will be no drawing but only tracing!
But we are not finished yet. Grace will provide an enlarged pattern to complete the process of pattern creation. Then, to introduce you to her new, easy to learn and use, Heat-Set “Collage with Templates” technique Grace will provide another very simple pattern to learn and practice the technique. This technique is so new and revolutionary; you will use nothing else once you try it. The results are always amazing.
This technique leaves the quilt and the fabric soft and manageable, not stiff and board-like, as fusible webs and glues tend to do. This technique produces a no-fray raw edges as a result. You will be amazed and love the process and the results! and will never go back to fusing, gluing, or pinning and stitching with nylon thread, ever again!
Armed with this techniques and all that you learned in the previously, we will now work with your own photos that have inspired you, and with guidance, will create a transparency pattern so that you can then enlarge it and create your own amazing piece of art.
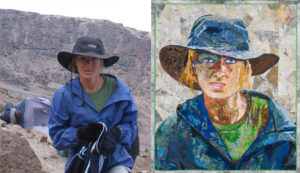 Bring your favorite flower, animal and/or portrait, even selfies. Your photos should have a distinct focal point. (Note: Please do not bring landscape photos).
At the completion of the class you have a quilt top well on its way, and you would have started the releasing of the artist within and creating art quilts that are so striking you and everyone around will be amazed.
1) you will have mastered a number of new techniques that you will love,
2) you will have a pattern created of your own inspiring photo and will begin the journey of another amazing quilt.
This class requires a kit provided by the teacher that contains The Value Matching Tool, the Periodic Value in Color Chart, color photos and a pattern to learn pattern making techniques, the Heat-Set product along with a Dispensing Bottle and Pins used in the technique. (Kit fee to teacher: $39.00)
Supply List
In this class (2 or more days) you will learn to use an “collage with templates” technique so new and revolutionary, you will use nothing else once you try it. It is easy, foolproof and the results are always amazing. This technique leaves the quilt and the fabric soft and manageable, not stiff and board-like, as fusible webs and glues do. The best however, is that you can do “raw edge” applique without any fraying edges!! This technique produces a no-fray raw edge applique as a result.
The technique is so easy and foolproof that, depending on the length of the class you will be able to complete a quilt from start to finish, tackle larger and more complex patterns, and be able to assemble and begin quilting your art quilt.
In addition, participants will learn about the Value of using Value in their textile work. This workshop is well worth the investment.
To practice these techniques you will have a choice of any one of the wonderful patterns shown below or on Amazingquiltsbygrace.com website. Grace provides a kit that includes the pattern of your choice, and the Heat-Set product.
List of patterns to choose from:
 |
 |
 |
 |
| A Bird in Paradise |
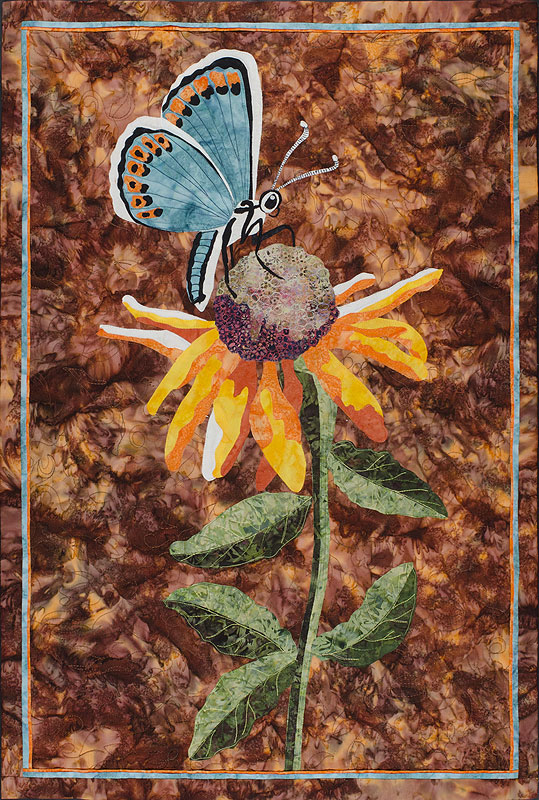
A Blue Butterfly Just Landed |
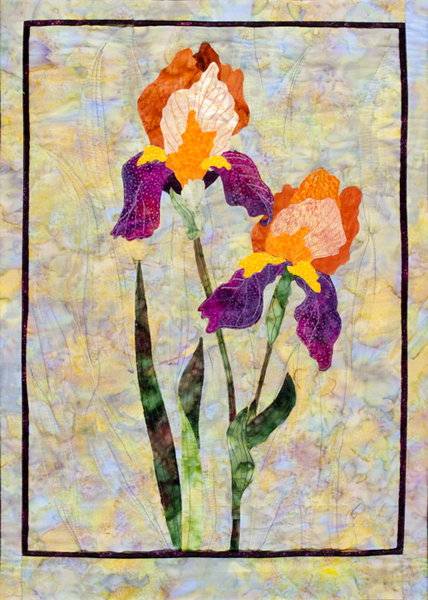
Blooming Iris |
Cerulean Butterfly |
 |
 |
 |
 |
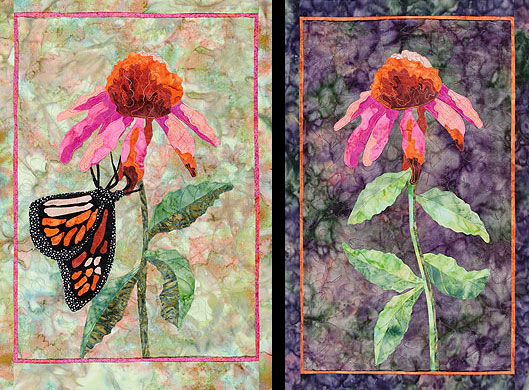
| Coneflowers in the Pink |
Cool Blue Xmas |
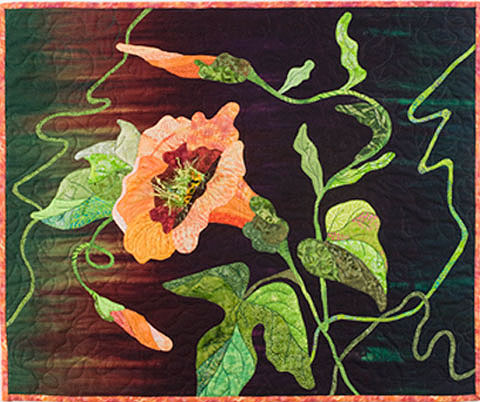
Coral Vine |
Deck the Palms |
 |
 |
 |
 |
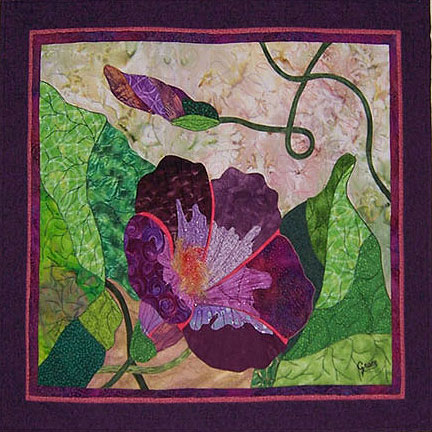
| Early Morning Glory |
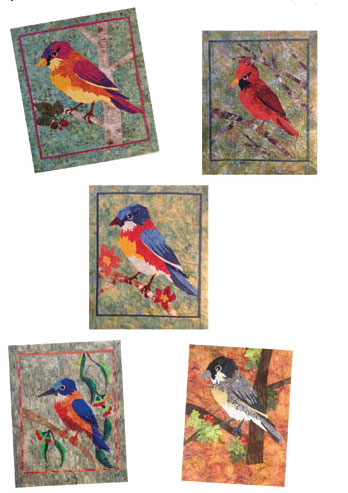
Generic Birds |
Home in the Aloalo (Hibiscus) |
La Manzana Roja |
 |
 |
 |
 |
| Monarch’s Cone Flower |
The New Dawn Rose |
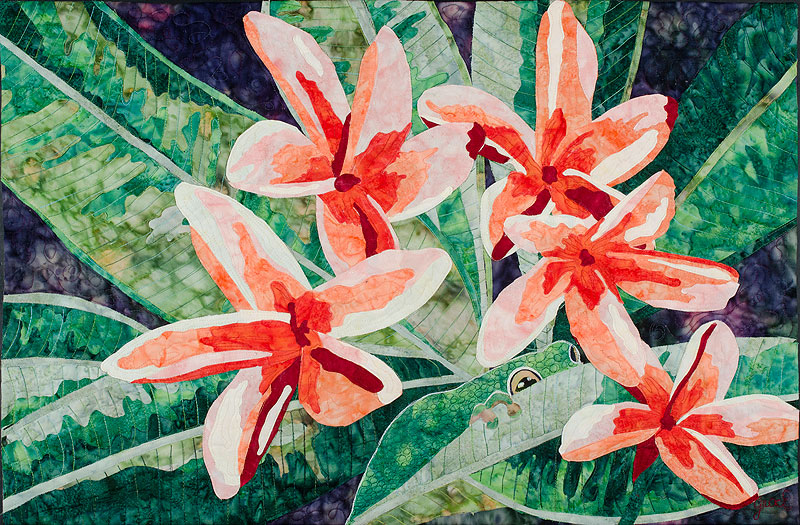
Plumeria and Guest |
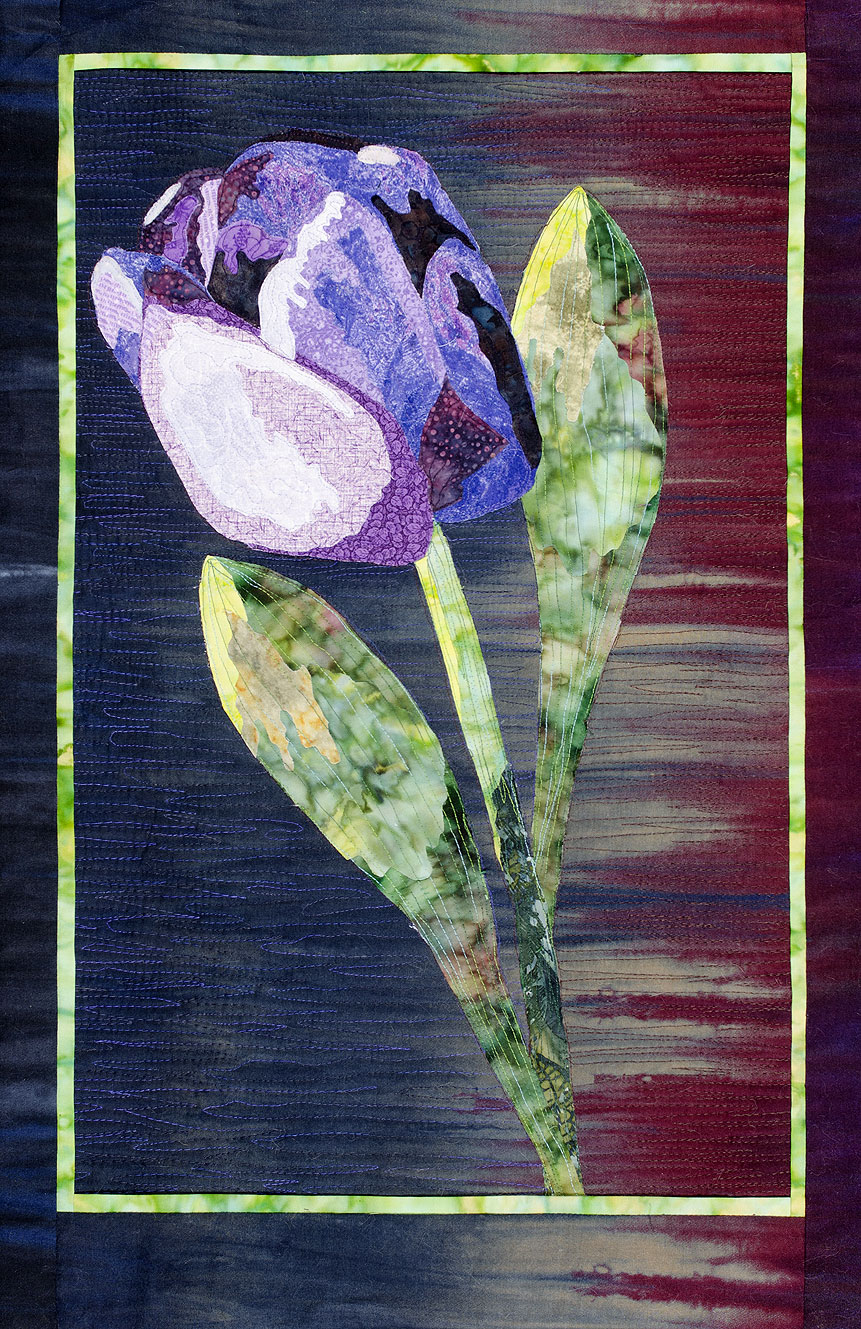
Purple Royale |
 |
|
|
|
| Spiders Galore |
|
|
|
| |
|
|
|
Look for the pictures and sizes on the Patterns Page and here is the Supply List
Note : If you have your heart set on a pattern on Grace”s website that is not on this list, email Grace (gracerrea@gmail.com) so that she can bring it to class. Please realize that you may not finish it in class. However, you will have enough information and practice to finish it later. That is a promise!
This 2-Day class is for anyone interested in taking a quilt top to its full completion. This will be your best investment in cleaning your closet of all your UFO’s. We will review the simple traditional binding, but the focus will be on a number of more advanced edge techniques, such as “bordings” and envelope-pillow case edge-ings. You will:
1) learn a number or bordering techniques. We will start with a traditional binding, but then demonstrate other finishing techniques such as bording, envelope, 3-D flanges, etc. You will use fat quarters of muslin to try these and keep them as samples for future use and reference.
2) we will have a discussion of borders and the pros and cons of having them, where they add to the design and where they become a problem in the design.
3) Lean how to create a perfect “envelope” edge to a quilt that needs no borders and/or bindings.
4) learn the benefits and method to properly blocking your quilt so it lays or hangs at its best. The teacher will demonstrate the blocking technique.
5) learn to make the correct hanging sleeve and apply it to your quilt.
You will be learning on small samples. This will allow you to feel free to explore and play while learning all these techniques. At completion you will be ready to
a) feel totally confident about designing a proper edge for a quilt that will work with the quilt design
b) know now to totally complete the quilt, including making the hanging sleeve, blocking so it hangs correctly regardless of the quilting distortion, etc.
c) tackle all those UFOs you have hidden in your closet that you never knew how to finish
Supply List
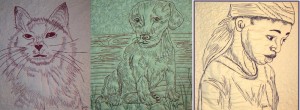
In this 1-Day class you will learn and practice or enhance your free motion quilting skills. First we will warm up by free-motion quilting a number of patterns that can be used for continuous background quilting in art quilts. You will also learn how to sign your name on your quilt by using the sewing machine as a writing tool.
Then we will make one or more simple drawing on muslin sandwiches from patterns included in Grace’s kit. We will proceed to draw the designs with your sewing machine using thread. Kit for the class: $10.00 contains patterns for the drawing exercise and various stabilizer for you to try.
This technique requires minimum effort and practice. You can execute it even if you do not feel comfortable with free motion quilting. We will review and practice free motion and discuss threads used in the process. Along with creating this quilt, this class will definitely improve your free-motion quilting skills, regardless of the level you are at now. At the end of the class, you will feel very confident of your quilting skills and be ready to attack any quilting challenges you might have in the future.
Supply List
This 1-Day class focuses on Value and its importance in art. The various aspects of color harmonies, value, color theory, psychology or color, the expressive aspects of color and value in nature and in art/quilts will be discussed and demonstrated. At completion of the class students will see value and color in a new way and will start releasing the artist within.
Students will learn how to use Value to create a focal point, to set the mood in a piece, to create 3-dimensionality or to give the perception of perspective in a landscape.
We will start by creating a perfect 8-value gray scale from fabrics provided by the teacher. Then, using your own fabric chips that you will bring, in the other hues (red, blue, yellow, green, purple, and orange) we will create the Periodic Table of Value in Color.
By the end of the class you will realize that Value is the dynamic difference between good quilts and amazing quilts.

View supply list here.
In this class you will learn to use a “collage with templates” technique. It is an innovative and revolutionary new technique, you will use nothing else once you try it. It is easy, foolproof and the results are always amazing.
This technique leaves the quilt and the fabric soft and manageable, not stiff and board-like, as fusible webs and glues do. The best however, is that you can do raw edge applique without any fraying edges!! This technique produces a no-fray raw edge applique as a result.
You will be amazed and love the process and the results! and will never go back to fusing, gluing, or pinning and stitching with nylon thread, ever again!
In addition, participants will learn about the Value of using Value in their textile work. This workshop is well worth the investment.
To practice these techniques you will have a choice of any one of the wonderful patterns shown below. Grace provides a kit that includes the pattern of your choice, the Heat-Set product, dispensing bottle, and pins.
In this 1-Day class, we need to do a simple pattern so as to be able to focus on the technique and complete the lesson. List of patterns to choose from:
Look for the picture on the patterns page and view the Supply List.
Note: if your heart is set on another pattern from the “For Sale – Quilt Patterns” page, please email me so that I can bring the pattern to class:
Contact Grace.
 |
 |
 |
 |
| A Blue Butterfly Just Landed |
Blooming Iris |
Coneflowers in the Pink |
Coral Vine |
| |
|
|
|
 |
 |
 |
|
| Early Morning Glory |
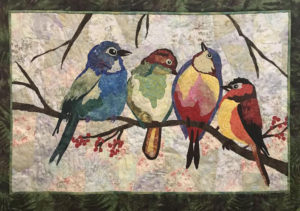
Generic Birds |
The Chorus |
|
| |
|
|
|
| |
|
|
|
More images for Intro To Art Quilting:
| Three to Five Day Workshops |
|
|
 Papaver Rouge – Finished Size 30″ wide x 25″ high |
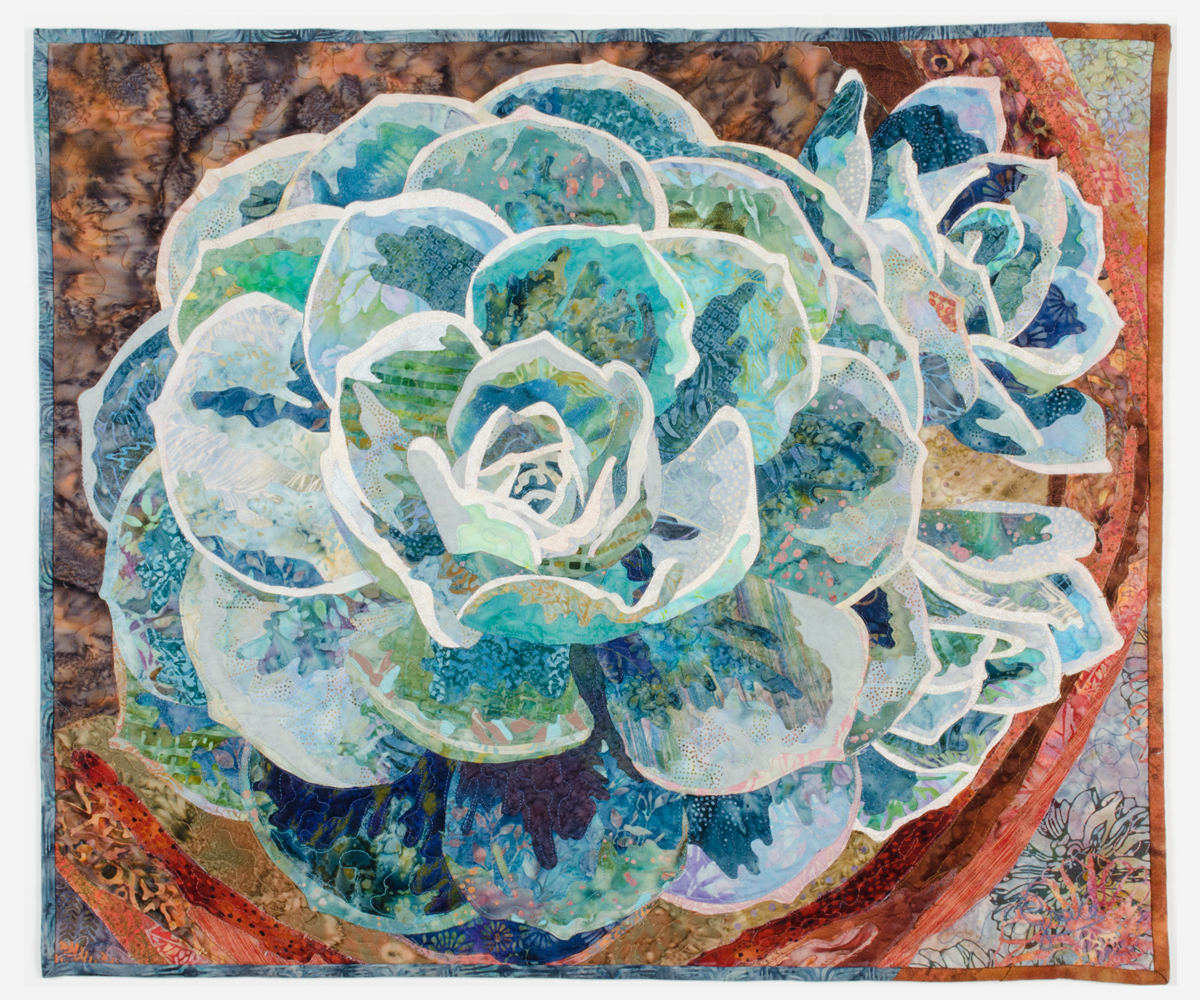 Hen and Chicks – Finished size – 27″ wide x 23″ high |
 Glorious Morning – Finished Size 50″ wide x 52″ high |
 Tradescansia Facile – Finished Size 22″ wide x 19″ high |
 Cygnus Negra – Finished Size 33″ wide x 23″ high |
 Poppies on Ice – Finished Size 30″ wide x 40″ high |
 Flamingo Quilt – Finished Size 25″ wide x 31″ high |
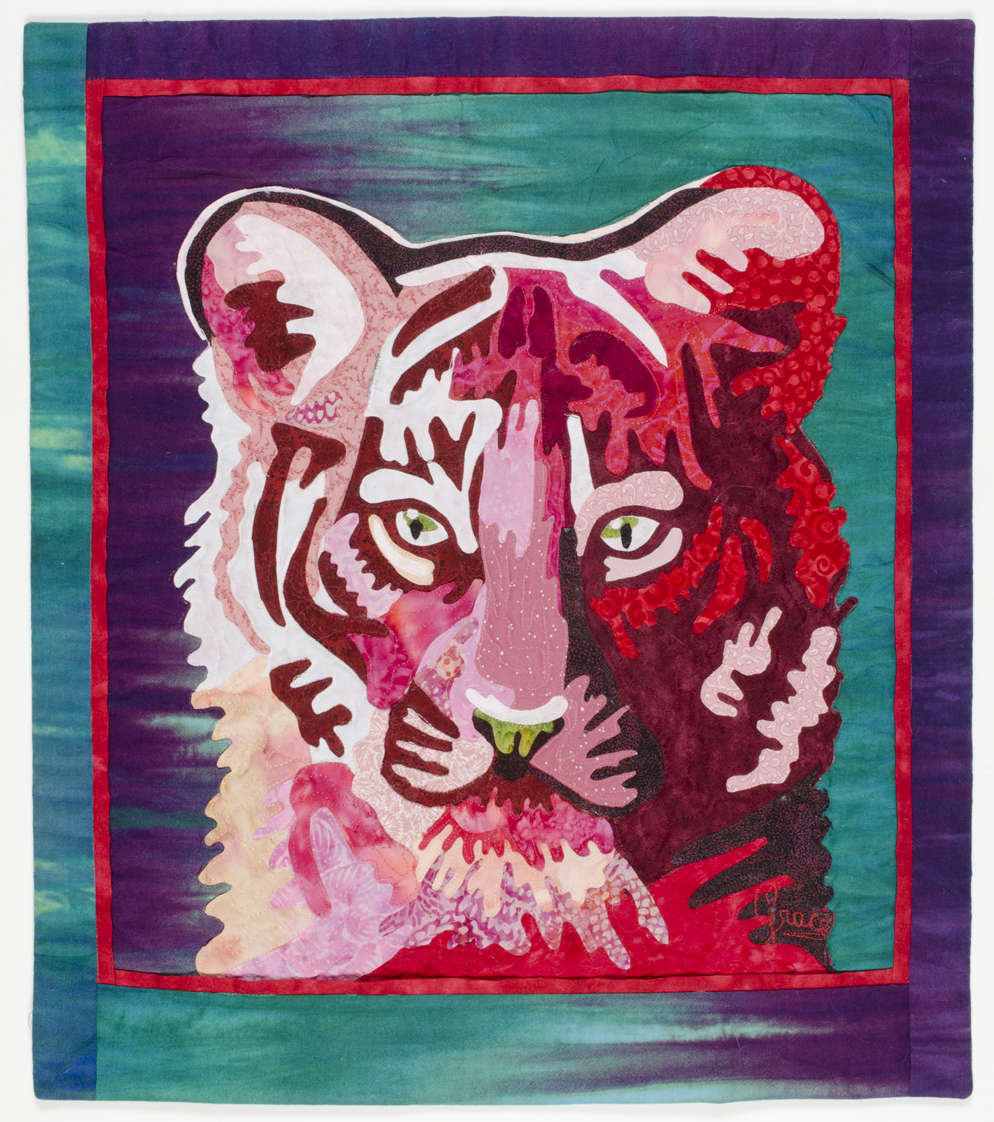 Tigger – Finished Size 18″ wide x 21″ high |
 Chardonney Rose – Finished Size 33″ wide x 30″ high |
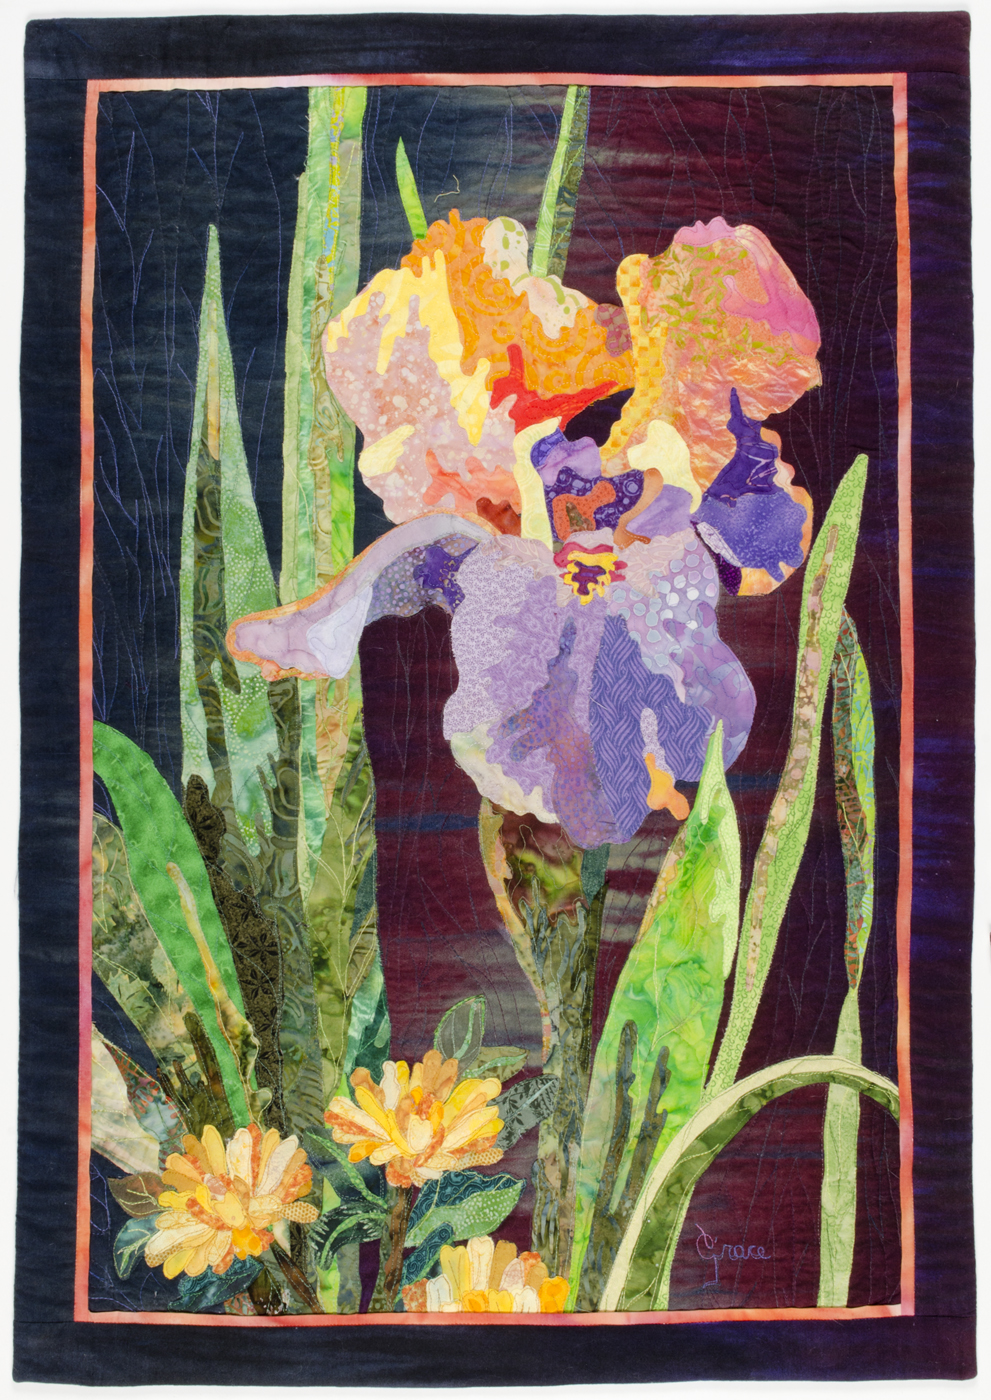 Rainbow Iris – Finished Size 22″ wide x 32″ high |
 Birds In Paradise – Finished Size 43″ high x 33 ” wide
|
 Nuthatch – – Finished Size 26″ high x 33 ” wide |
This 1-Day class is for anyone interested in taking a quilt top to its full completion. You will:
1) learn tricks for easy sandwiching of quilts in preparation to quilting, no matter how large or small
2) discuss and demonstrate some simple and easy quilting patterns, focusing on Art Quilts. Grace will bring many quilts to show and describe. We will spend a lot of out time in practicing quilting designs.
3) discuss borders and bindings and how to complement your quilt by choosing the right edge-ing. We will practice the traditional binding.
4) we will introduce you to an innovative and amazing new edge-ing called “Bording” (Binding and Border in one step). We will practice this new edge-ing.
5) learn the benefits and how-to method to properly block your quilt so it lays or hangs at its best. The teacher will demonstrate the blocking technique.
You will be learning on small samples. This will allow you to feel free to explore and play while learning all these techniques. At completion you will be ready to tackle all those UFO you have hidden in your closed that you never knew how to finish.
This class required a kit from the teacher: $40.00
View supply list here.

This 1-day workshop presents to the participants, steps required to turn inspirational original photographs(s) and create a pattern that then can be used to create an amazing fabric art.
This workshop will hone your skills needed to go home, take your favorite photo, and create an amazing textile from it. Grace will show how to enhance perspective and depth, how to proportionately enlarge the drawing from the photo(s) and how to incorporate multiple photos in one design. We will also discuss what to look for when taking photos for potential art quilts.
In this class we will all be working on the same photo provided by Grace. Using this simple photo we will go through the steps of identifying shapes, creating the pattern, and value-lizing the final pattern for easy fabric selection.
Grace will provide the photo to work from, and she will also provide copies of the pattern from that photo to start your creation. You will learn the steps to create freezer paper templates and the vinyl map for the quilt constructions. You will not only learn how to create your own patterns from photos but will walk out with a great, full sized pattern from Grace that you can then test out you new skills by creating a quilt from it.
This class requited a kit provided by the teacher containing the photo used in the class, and the pattern sample, Value Matching Tool and the Periodic Value in Color Chart.
View supply list here.


 Then we will learn how to create a pattern from a photo provided by the teacher as part of the kit. You will be guided to see shapes you never saw before, and with the help of value you will be able to make the pattern. There will be no drawing but only tracing!
 Bring your favorite flower, animal and/or portrait, even selfies. Your photos should have a distinct focal point. (Note: Please do not bring landscape photos).


